Microphones for video
Guidelines for video miking, especially voices.

A microphone is a simple component that does not attract much attention; as a matter of fact it is just a device that transforms acoustical energy into electrical energy. However, there is a lot to gain if you select the right microphone for the job.
You may have asked yourself why there are so many different microphones on the market. While it is nice to have a lot of choices, the down side is that too many options can lead to making a less than perfect choice. So what should you look for when you are selecting a microphone? This article aims to answer some of those questions by looking at microphone quality and why it is important, what specs to take note of, how to power your mic, and what you can achieve with a wireless solution.
Why is audio important in video production
Audio and video should go hand in hand. Considering perceived quality of a given production, it does not help much to have great images if the sound is bad. The quality of the sound affects the perception of the images. Getting the right perspective and the right balance is important in both video and audio production.
As you will know from working with images, if the quality is low, there are limitations to the extent of possible enhancement. If the audio is noisy, distorted or with low resolution, there are limits to what can be fixed in the mix.
Specs that count
As with other equipment, the specifications of a microphone provide essential information. Serious microphone manufacturers will refer to an international standard (IEC) that states the conditions for the measurements in order to provide comparable data. Here are some of the important ones:
Sensitivity
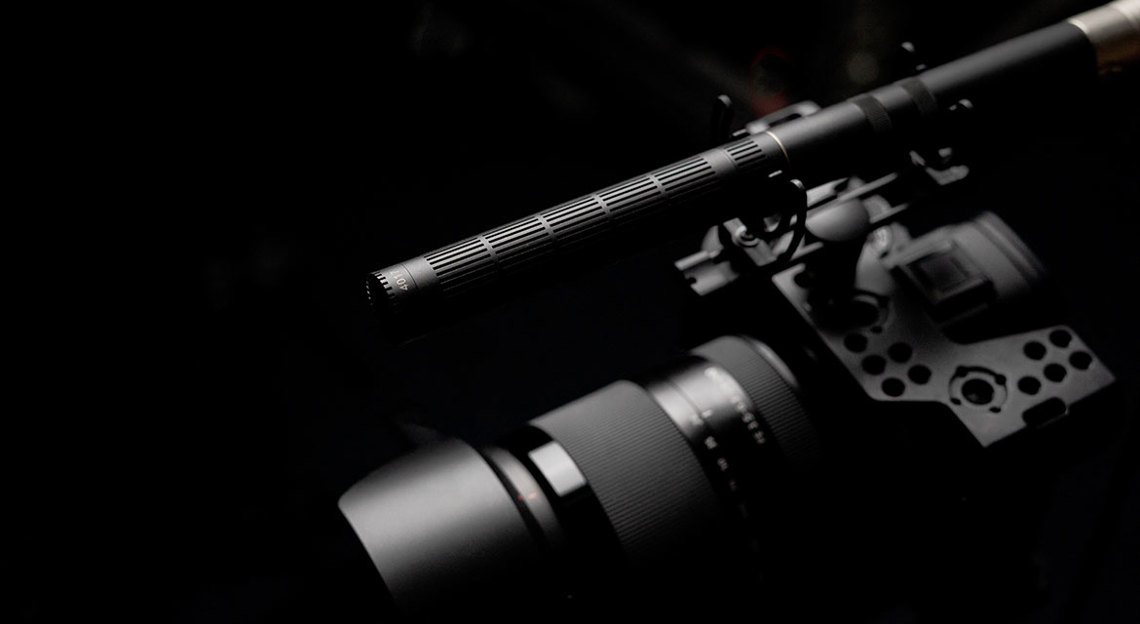
This tells you how much electrical output a microphone produces when it is positioned at a place where the sound pressure level is 94 dB re 20 µPa (94 dB equals 1 Pa). Low sensitivity (meaning only little voltage is produced) will be in the range of 1-5 mV, for instance like handheld vocal microphones. If the sound source is at a distance from the microphone, the microphone's sensitivity should be relatively high to produce a sufficient signal level: The sound source in the range of 10-30 mV. See for example our 4017 Shotgun Microphone with a sensitivity of 19 mV/Pa.
Selfnoise
Every microphone produces noise. The noise or the “noise floor” determines how much the microphone can be amplified. Normally the “built in” noise is compared to that of an external acoustical sound source that would produce a voltage on the output equivalent to the level, which now stems from the microphone itself.
So the maximum acceptable selfnoise-level is determined by the level of the sound source. If the sound source is loud it does not matter that the selfnoise is above say 25 dB(A). However, if the sound source is weak, the selfnoise should preferably be below 25 dB(A).
In most specifications you will only find one measure, “dB(A)”, A-weighted RMS-level, which shows the selfnoise in ideal settings. Serious manufacturers also present a peak measure, which is considered to provide better information especially on condenser microphones since it shows the maximum level of selfnoise (higher selfnoise figure).
Directivity pattern
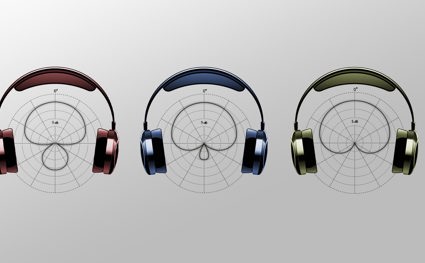
Directivity expresses how much the microphone picks up in the on-axis direction compared to all other directions in a three-dimensional space.
The directivity is expressed by the width of the pickup angle. However, we use descriptions as “omni”, “cardioid”, or “figure eight” which refers to the pattern of the polar plot. For microphones with high directivity, terms like “shotgun” are used partly because of the look of the microphone, and partly because of the more narrow directivity. If you wish to minimize off-axis noise, the microphone must exhibit high directivity.
Directional microphones normally exhibit proximity effect. This means a rise of low frequencies (more bass) when the microphone gets closer to the sound source. If the microphone is designed to be used very close to the sound source (like a handheld microphone or a headset microphone) then the microphone is equalised to have a flat response in the nearfield. This equalizing also means however, that low frequencies of distant sound sources will be reduced. So if you produce stand up/vox pop in a crowded and noisy place, be sure to use a directional handheld microphone in order to reduce background noise, especially if it has extensive low frequency content. Omnidirectional microphones do not exhibit this effect.
DSLRs or the big pro cameras?
The traditional “big” professional cameras have a number of microphone inputs. Further, there is 48 volt phantom power available for powering microphones. This, of course, requires a battery capacity that is able to deliver all the power needed.
Small cameras like DSLRs may only have limited power available and perhaps only unbalanced input. Extra gear is therefore needed in order to connect professional phantom powered microphones. Many professional condenser microphones may have a power consumption, which is higher than that of a built-in microphone. High power consumption is not a positive feature. However, it is to some degree a necessity in order to provide good signal handling in a condenser microphone.
One solution is an external battery box that can provide the 48 volt (that is normally a DC to DC-converter with balanced XLR-connectors). In this way, the microphone or microphones will run independently of the camera batteries. Some microphones may have built in batteries. It should be known that some microphones may still work if the supplied voltage is lower than what is required. However, the microphone specifications may then no longer apply. Typically, one can experience a lower max SPL, higher distortion and even higher selfnoise. So to get the best out of your condenser microphone: Supply the power specified.
Wireless
In many situations, it is an advantage to use a wireless transmission set, i.e. an ENG transmitter and receiver. The receiver is relatively small and should be mounted on top of the camera; some transmitters may have the capacity to deliver the power for the microphone.
Wireless and polarity
A microphone should always generate a waveform that is analogue to the sound pressure in front of the membrane. Positive going sound pressure should result in a positive voltage at the “hot” pin. You can say that the acoustical signal and the electric signal is “in phase”. If you only have one microphone, it doesn’t matter much. However, if you are mixing more than one microphone it is important they all have the same polarity.
Different brands have implemented different polarities in their wireless transmission systems. This is due to the fact, that some manufacturers are not able to produce a small microphone that has a positive going voltage on the hot pin for a positive going sound pressure at the membrane. In order to secure the right polarity of the output of the receiver, the polarity is reversed in the system. Reversed + reversed = non reversed.
DPA's Miniature Microphone series are all in-phase as required by the standards. Therefore, make sure that you check the polarity compatibility on especially cheaper miniature microphones and wireless transmission systems. If it turns out that your system is out of phase you should consider introducing a polarity shift. In a balanced system this is easy as you simply swap the signal wires in the connector.
Speech intelligibility
One thing that is important in sound for video is speech intelligibility. Being able to hear a recorded voice is not necessarily the same as this sound guarantees high intelligibility. In Western languages, the consonants are important. The major part of consonants is found in the 1-4 kHz range. Unfortunately, this frequency range is attenuated for instance when placing a clip microphone on the chest of a person, or when placed under clothing or when a microphone is equipped with heavy wind shielding. If that is the case, the signal must be corrected by equalising.
Bodyworn microphones
As mentioned, placing a microphone somewhere on the body of a person may help getting close to the sound source and thereby reducing the amount of background noise and room reverb. However, the sound field will be different depending on where the microphone is placed. Therefore it is important to have a microphone that is either corrected for its actual position or has an output that is good enough for equalizing.
Also remember that there is at least 10 dB difference of SPL between different positions on head and body. The highest level obtained using a headset microphone “at the corner of your smile”. A microphone at the chest of the same person has approximately 10 dB less SPL signal to work with (and a different spectrum on top of that).
Microphones for surround
Recording surround sound can be done in two ways: Either using a number of descreet microphones or using one microphone designed for surround pick-up. Our 5100 is an example of a 5.1 microphone unit that in a “plug-and-play” solution will put your surrounding sound scape direct on the tracks. The individual microphones of the 5100 Mobile Surround Microphone unit are calibrated so you just have to set unity gain on all input channels. You’ll need five or six tracks for the surround microphone and perhaps one or two additional channels for spot mikes. An external 8-channel audio recorder will do absolutely fine.
Microphones and wind
Microphones are more or less sensitive to wind. In general directional microphones are around 10 dB more sensitive compared to omnies. There are many different windscreens to choose from. However, select the ones that do not attenuate high frequencies too much. Some microphones have a built-in filter to compensate for this loss. Our 4017 Shotgun Microphone is equipped with such a filter.
Go for it
In the end, microphones are a matter of personal choice. Find your way through the jungle, select the ones that work for you. But always remember - life is too short for bad microphones.


